
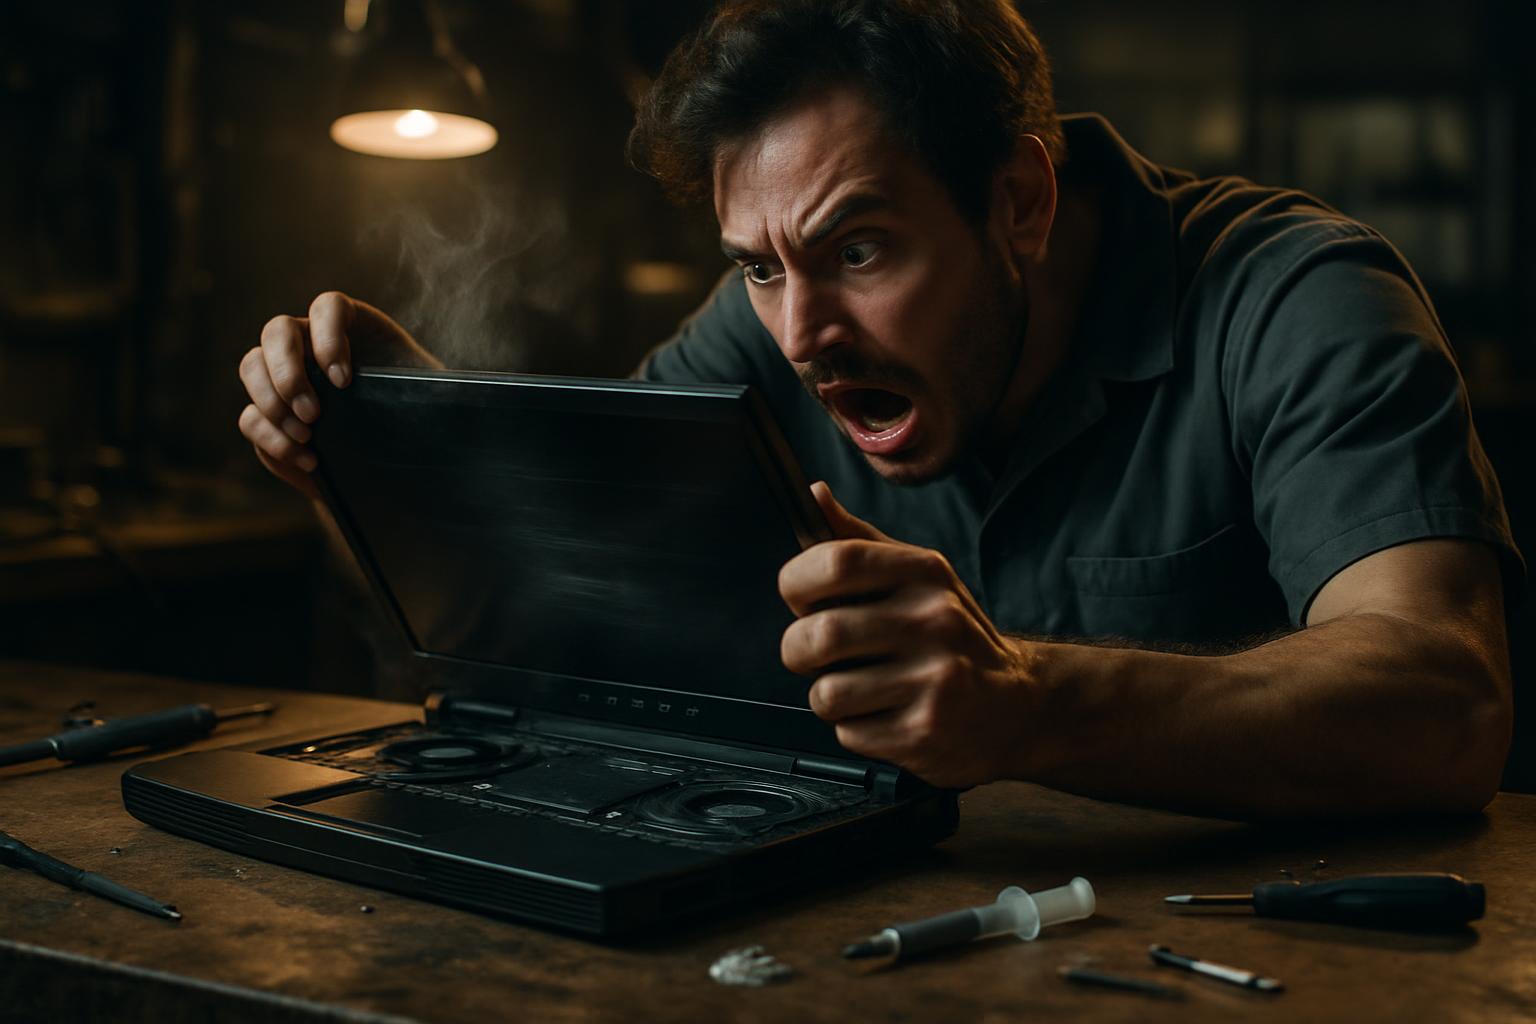
High-end gaming laptops, such as Alienware models, are powerful machines, but that power comes with a high thermal cost. Over time, thermal paste degrades, fans accumulate dirt, and internal cables wear out, especially on equipment subjected to intensive use. When these problems build up, the result can be a set of worrying symptoms: overheating, unexpected shutdowns, lack of image and charging failures.
This guide was created to help users and technicians understand how to diagnose and resolve each of these problems in a methodical way. Contrary to what it might seem, it isn’t always a serious fault, but the wrong approach can make the situation worse. The key is to follow a logical diagnostic sequence before replacing any component.
Overheating and Shutdowns: The Starting Point
The first symptom to investigate is always overheating. On gaming laptops with several years of use, the thermal paste originally applied between the processor and the heatsink loses its conductive properties, becoming dry and ineffective. The result is poor heat transfer and temperatures that quickly reach safety limits.
Before any intervention, it’s useful to monitor temperatures with tools such as HWiNFO or MSI Afterburner. If the GPU or CPU are reaching 90°C or more under moderate load, the need for thermal cleaning is evident. The maintenance process should include:
- Complete interior cleaning, removing dust accumulated on fans and heatsinks with compressed air
- Lubrication of fan bearings, which tend to lose efficiency or make noise as they wear out
- Replacement of thermal paste on the processor and GPU, using quality compounds such as Thermal Grizzly Kryonaut
- Replacement of thermal pads on VRAM memory and other components that use them, with the correct thickness to ensure proper contact
After this intervention, it’s essential to test the equipment over an extended period using stress test tools, such as FurMark for the GPU and Prime95 for the CPU, checking whether temperatures remain at safe values and whether the shutdowns stop.
Intermittent Image Failures: LVDS Cable or GPU?
One of the most difficult diagnoses on gaming laptops is distinguishing between a problem in the LVDS cable and a fault in the graphics card. Both can cause a lack of image on the internal screen, and the symptoms are often similar: black screen, intermittent image, or failures that appear and disappear without an apparent pattern.
The most rational approach is to start with the least invasive option. The LVDS cable is the cable responsible for transmitting the video signal between the GPU and the screen panel. With continued use, especially on equipment where the screen is opened and closed many times, this cable can develop internal breaks in the conductors that are not visible to the naked eye. The solution involves:
- Connecting an external monitor to check whether the GPU displays an image correctly via HDMI or DisplayPort
- If the external monitor works, the cause is most likely the LVDS cable or the panel
- Replacing the LVDS cable and repeating the tests before moving on to GPU diagnosis
- If the problem persists even with a new cable and the external image is stable, consider an in-depth diagnosis of the GPU
On older Alienware laptops, LVDS cables are components with reasonable availability on the secondary market, making this replacement a cost-controlled intervention with a good probability of solving the problem without the need for electronic board repair.
Battery Not Charging: The Role of the Cable and Identification Pin
A frequently underestimated problem is a fault in the battery identification circuit. On many laptops, the charging connector or the internal cable that connects the battery to the board includes an identification pin, which sends information to the system about the battery’s status and presence. When this pin is damaged or broken, the system simply doesn’t recognise the battery and refuses to start the charging process.
Typical symptoms of this situation include:
- Battery shown as not detected in the operating system
- Battery icon with an X or a warning that it’s not charging
- Laptop that only works with the charger connected, with no battery life
- No response to the charger even after restarting
The solution involves replacing the internal charging cable. However, it’s important to bear in mind that if the battery has been completely discharged for an extended period, it may have suffered irreversible cell degradation, even after the cable is replaced. In this scenario, replacement of the battery itself may also be necessary. A correct diagnosis should assess both components separately to avoid unnecessary costs.
How to Manage Multiple Faults at the Same Time
One of the biggest challenges in this type of repair is dealing with several overlapping faults. Overheating can mask GPU problems, GPU problems can be mistaken for cable failures, and charging failures can be wrongly attributed to the battery when the cause is actually the cable. This overlap of symptoms requires a sequential and documented approach.
The recommended order is as follows:
- 1. Cleaning and thermal maintenance, to eliminate overheating as a variable of error
- 2. External image test, to isolate the problem between the LVDS cable and the GPU
- 3. LVDS cable replacement, if the external monitor works correctly
- 4. Diagnosis of the charging system, including the internal cable and identification pin
- 5. Battery assessment, after confirming that the cable is functional
Following this sequence avoids unnecessary spending on components that may be in good condition and allows each problem to be isolated more precisely. On high-performance gaming laptops, regular preventive maintenance, ideally annual, can prevent most of these situations before they become critical faults.
How often should I perform thermal maintenance on a gaming laptop?
For gaming laptops with intensive use, complete thermal maintenance is recommended (including interior cleaning, thermal paste replacement and checking of thermal pads) every 12 to 18 months. In environments with more dust or prolonged daily use, the interval can be reduced to 12 months. Regular temperature monitoring makes it possible to anticipate the need for intervention before overheating causes additional damage.
Need help? Contact MEGABIT at comercial@megabit.ptin-person support in Baixa do Porto and throughout the Northern region of Portugal.
Want to be notified when we publish our next article or video?
Free. Get notified as soon as we publish. No spam, easy to unsubscribe.